Sunday 22 April 2012

Perch Stool Course – April 2012

Day 1

Hello fellow woodworkers!!
We were all a little nervous due to the fact that this was the first Perch Stool Course. None of us were 100% sure how the class would pan out. There were lots of crossing of fingers.

After a quick introduction, I split the class into two. One half went to the machine room to turn their legs, while the other half stayed in the classroom to mark out and carve their seats. All went very well and to plan except that we discovered that there is a lot more to the carving compared to the turning. Some of the carvers finished late in the day.


Above: Bern is marking out a seat.

Above: Hugh is reaming his seat with a 6 degree reamer. This is in preparation for the tapered tenons on top of the legs.
Above: Alastair is preparing the laser jig. This jig enables us to set the lasers at the correct angles quickly. You can see the lasers in the photo above with Hugh. The lasers help keep the reamer at the correct angle.
Above: Jeff ( our favourite American!) is turning his legs.

DAY 2

Day 2 was exactly the same as the previous day except that the groups had reversed roles. Bern and I also had an opportunity to develop an easier carving regime for the seat which we are now very happy with. The new regime is much simpler and easy to follow.


Above: Gabriele is reaming her seat. Again, you can see the lasers and the laser line on her hands.

Above: Shinobu is vigorously carving out his seat with a travisher plane.

Above: This is a detailed shot of an Elm seat with part of the new carving regime.


Above: This is another detailed shot of the new carving regime at a later stage.

DAY 3

Day 3 was 'D DAY!'. We wanted to have the stretchers cut to length, the mortices for the stretchers drilled, the wedges for the tops of the legs prepared and the stool glued up by lunch time. A little ambitions...yes! We ended up glueing them by about 3pm ish. The Perch Stools all came together beautifully!


 Above: Hugh and Andrew working on their stools with Peter Galbert's original Perch Stool in the foreground.


Above: Myself conducting a demonstration on how to mark out for the stretchers.


Above: Same as above.

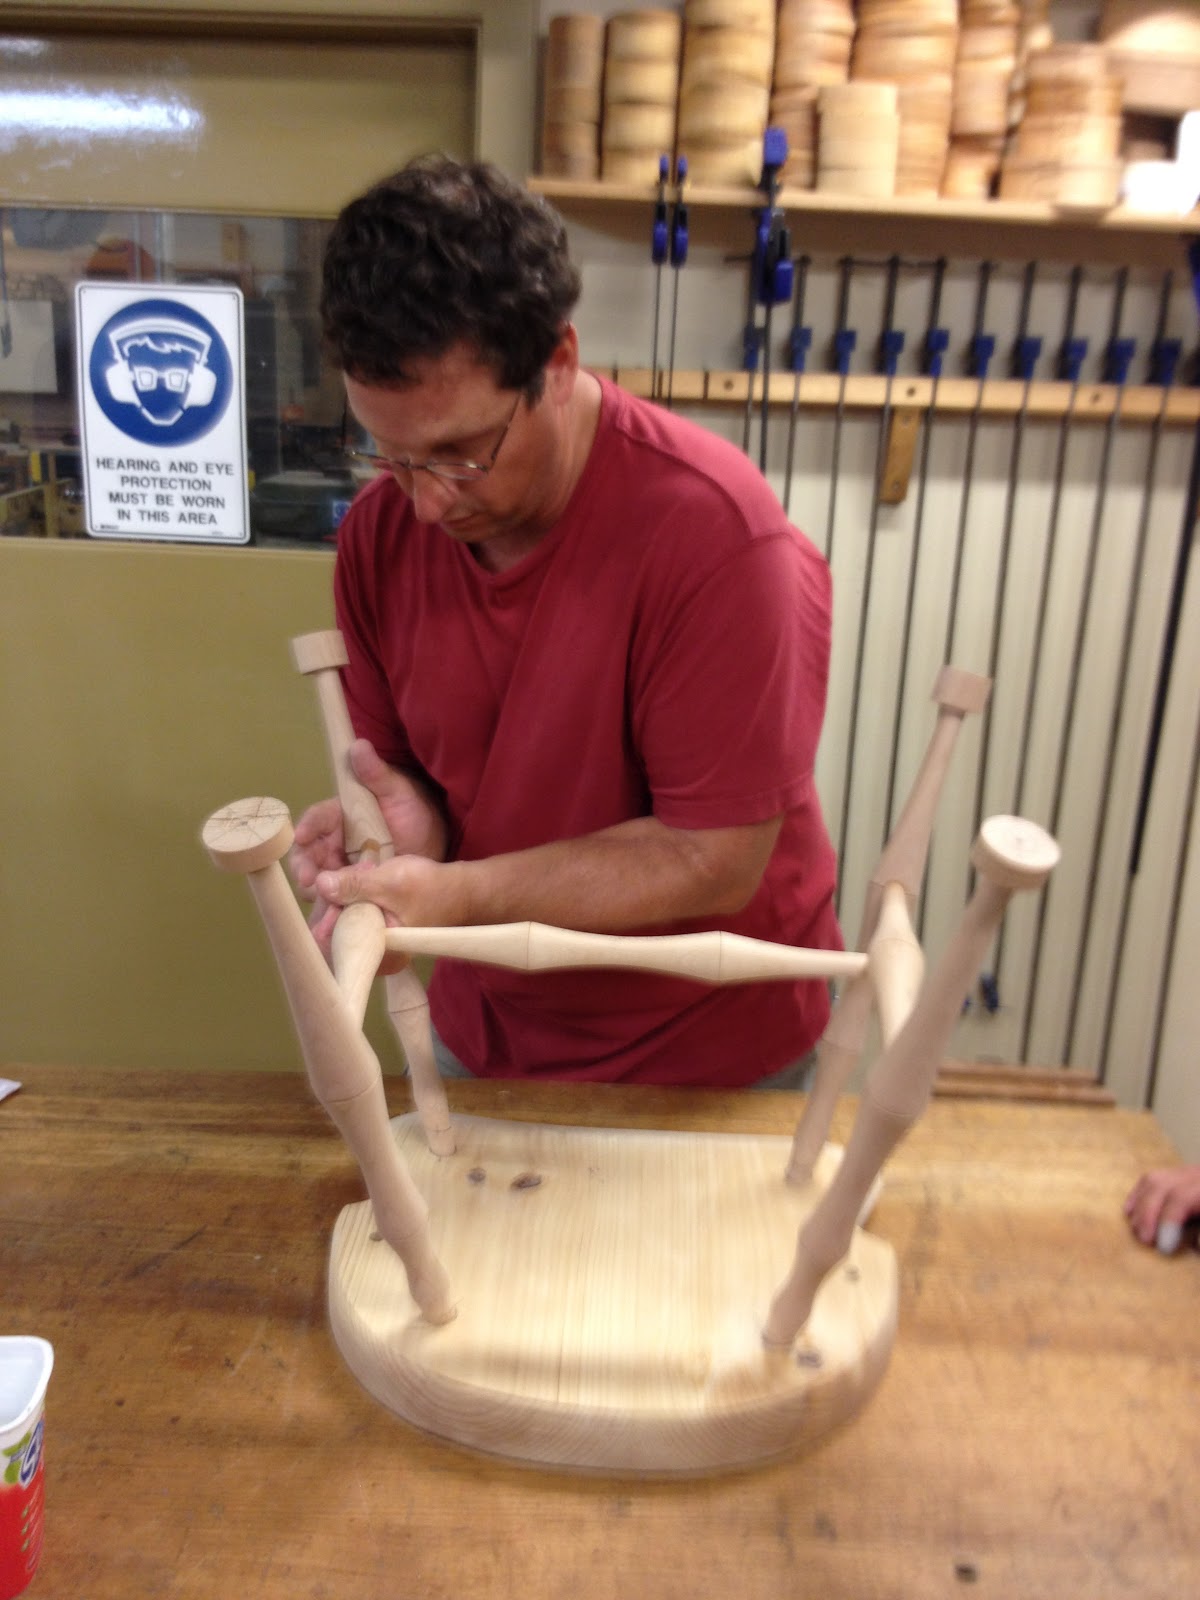
Above left: Jeff getting ready to glue up his stool. The pressure is building! You can see the glue pot to the left. We are using hide glue which is the best for these circumstances. Not so common these days.
Above right: Jeff widening the cuts in the top of the legs to accept the wedges.


Above: Jeff hammering the wedges into his stool.


Above: All the stools completed and everybody HAPPY!!
From left to right: Alastair, Hugh, Andrew, Jeff, Gabriele, Shinobu, Doug and our website genius - Tom! Paul, Callan and Bern left early.

Thank you everyone for attending!!

Saturday 31 March 2012

WINDSOR CHAIR CLASS - APRIL 2012

Hello Fellow Woodworkers!!

Welcome to our new blog page! We thought that it would be a great idea for everyone to stay informed on the daily ongoings at the Melbourne Guild of Fine Woodworking.

As of today, I will be running a Windsor Chair course. This will be ongoing for the next six days. At the end of the course, the students will be walking away with a finely crafted Windsor Chair!

For anyone who is interested, please have a look at the following link:

http://www.mgfw.com.au/classes/windsor-chair-making-intensive/

In preparation for this course, it was essential to find the perfect timber for the crest rails. Just last week, a number of European Ash trees were cut down. I split them in the hope that the grain of the trees would be straight enough for crest rails. Fortunately, some were.

 
 Above: Tara - standing beside the European Ash logs!

Above: Splitting a European Ash log, hoping that the grain will be straight!!


Below: Here is a photo of the students making spindles with the European Ash.

The initial shaping of the spindles took all day but we got there!


Below: Sweeping up the day's shavings!!


Tomorrow (Day 2) we will start on the crest rails!

DAY 2

Today we spent the morning refining our spindles with spoke shaves. We also chose our crest rails and began carving them for the afternoon crest rail steam bending session.

Above: Igal with this 'straight' crest rail.

Above: Bern using a template to shape his crest rail.

After lunch, we completed the rail carving and preparation. We then fired up the steamer and spent the late afternoon steam bending six crest rails. We had a two delaminations at the elbow and promptly glued them back together in bending form with foaming glue. The great thing about foaming glue is that it reacts with the moisture in the timber. So wet timber glues up quicker. It's great stuff for this sort of situation. When I made my first Windsor Chair in 2004, steam bending was definately one of the biggest hightlights. Everybody really enjoyed it!! All the crest rails are in the kiln drying happily!

 Above: The crest rail happily drying in the kiln.
DAY 3

Today we started the day by continuing to refine the spindles. By late morning, Bern and I had successfully set up both the Parken drill press and the Walden Radial Arm drill press. After lunch, the students alternated between drilling the spindles on the 'Parken'  and the leg holes on the 'Walden'.

 Above: The new laser setting jig...accompanied by a couple of cheeky girls!!

After this, we spent the rest of the day reaming the leg holes and the arm stump mortices with the 'Gidgee' 6 degree reamers and the laser jigs. It always fascinates me to be part of making a Windsor Chair with laser jigs. Such a contrast between the old and new.

Above: Demo using the Reamer and Laser jigs.

Above: Eric and Igal teaming up for reaming the leg holes in the seat. 

Above: Igal enjoying the task!!

DAY 4
 
One of the highlights of Day 4 was the arrival of two machines. One is a high production lathe and the other is a sander that accompanies it. The high production lathe will allow us to supply cheap turned Windsor chair legs to anyone who wishes to make a Windsor chair. No space for the machines yet, but we're working on that problem!!
Above: The machines on the truck (from Canberra) ready to be unloaded.

Below: Finally off the truck!


Apart from the machinery arriving, Day 4 was spent carving the seat.


Above: Cameron surrounded by a floor covered in seat shavings!!

Above: Catherine working on the back of the chair.

Above: The final touches on the legs, arm stumps and stretchers in preparation for the glue up in Day 5.

DAY 5
Day 5 was spent legging up. Legging up is where we prepare everything for the underside of the Windsor Chair and glue it up. It is vital by the end of Day 5 to have the base glued up and balanced with the tenons that poke through the top of the seat trimmed.  


Above left: The legs spent the night in the kiln. The aim of this is to super dry the tenons in preparation for glueing into the seat.
Above right: Igal getting help glueing his legs in.

Above: Jeff, Eric and Igal working on the underside of their chairs.

Above: Jeff pushing his last leg in
Above: Cameron giving it his all!

DAY 6

The big day!! The 'do or die' day!! The morning was spent finishing all the spindles and making sure that they fit snuggly into their seat mortices.

Above: Eric doing some finishing touches on this spindles.

Traditionally on the last day we have a wonderful lunch from Indochine! It is one of the best restaurants in Box Hill.

Above: All of us chomping on our delicious energy food!

After lunch,we drilled and fitted the crest rails in preparation for the glue up. We started the glue up at 6pm and finished just after 9pm. Not the latest finishing class of all time...but pretty close!!

Above left: Bern and Cameron help Jeff glue up his crest rail.
Above right: The final chair at 9pm! Bern's trying to show that he's not tired or stressed out...but we know better!!

Above: The proud Windsor Chair makers!